Do you ever dream about saving the world? How about saving an entire Galaxy? It takes some pretty brave heroes to take on that challenge. Good thing for us, the Guardians of the Galaxy are crazy enough to try.
Become a part of the adventure this summer at Disney California Adventure Park! Guardians of the Galaxy - Mission: BREAKOUT! has been a guest-favorite at the Disneyland Resort since it opened in 2017. You can join Rocket Raccoon as he attempts the amazing feat of rescuing the Guardians from the Collector! How much of a plan does Rocket Raccoon have? Well, you will have to find out in person when you visit.
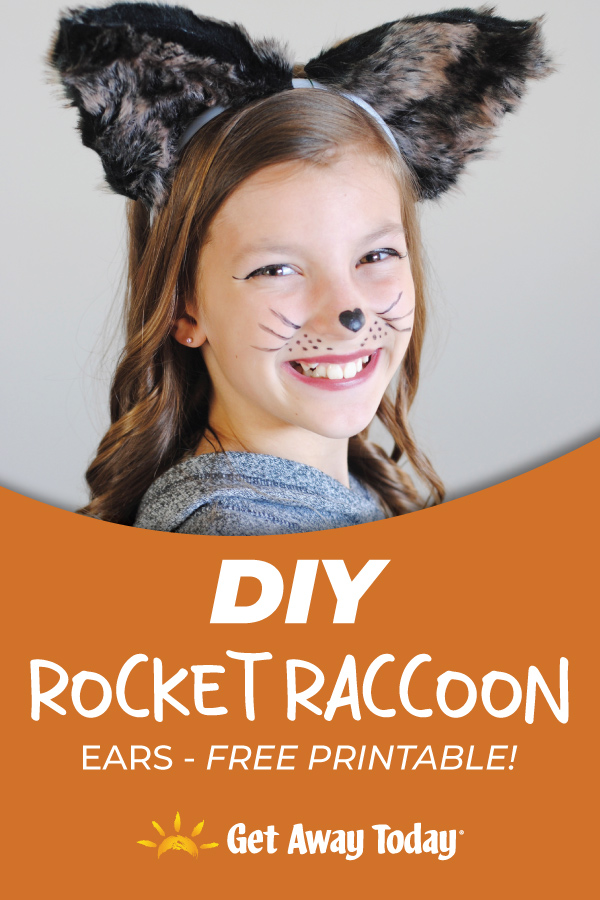
Get ready for the fun with this easy Rocket Raccoon ears tutorial. Rocket claims that, "Ain't no thing like me, except me!" But, with these cute Rocket Raccoon ears, he may have to reconsider.

Rocket Raccoon Ears Supplies:
DIY Rocket Raccoon Ears Instructions


Repeat the process with the second piece of wire and a second foam ear.
Grab another foam ear and cover it with hot glue. Then place it on top of the wire so the wire is sandwiched inside the two foam ear pieces. Repeat with the second ear.


Cutting furry fabric is always a bit messy since the fur gets everywhere! Try to keep the long fur away from the scissors when you are cutting, so you don't trim the hair too short. Once you pull away all of the excess fur scraps from the cut section, the ears won't shed anymore. Another tip is if you have an exacto-knife, you can use that on the non-furry part of the fabric to try to have less of a mess when cutting.
Use the hot glue to attach the furry ear fabric to the foam pieces. Cover the back of the fabric with glue and press it on. Then, press another furry ear piece to the back to make a complete furry Rocket Raccoon ear! Make sure the edges are all secure and closed with glue.


Book Your Guardians of the Galaxy Disneyland Vacation


Join the Conversation!
Leave A Comment